Colour Correction – What You Need To Know
March 6, 2018

6th March 2018 by CH
Colour correction is a term that people are becoming more aware of. Ever-advancing software, camera technology and increasing standards of video content are making colour correction more accessible as well as more necessary.
Why Do We Colour Correct?
Our eyes can detect a vast amount of visual information but when viewing a recorded image this information is limited by the camera and the display screen. They are not able to reproduce the true range of light and dark as well as the variety of colours the human eye can see.
The main aim of colour correction is to take the limited image captured with the camera and adjust it so that the final result matches as closely as possible what was originally intended when shooting.
There are two terms for affecting colour in this way that are often thrown around interchangeably, these are ‘colour correction’ and ‘colour grading’. Colour correction can generally be thought of as correcting problems in the image to make it look technically correct whereas colour grading gives the film an overall style and an artistic look that works for the message. Basically, grading is the artsy fun stuff.
Historically only high-budget movies were colour corrected as this was a very expensive process requiring specialised equipment and years of training. If you weren’t lucky enough to be among the Steven Spielbergs of the day you just had to do without. This meant that a lot of old-school filmmakers developed their look within the camera. How it appeared it on the day was largely how it remained.
These days it’s not unusual to film with colour correction in mind, and sacrifice the immediate look to give the colourist as many options later on. The first image below shows the raw footage from a video we produced for the University of Reading . We shot with very low saturation and contrast, preserving the maximum amount of detail. This allowed us to choose which parts to keep in post-production . The second image has been colour corrected to make it appear close to how it did on the day. The third image shows a more creative grade that was applied across the entire film. The purpose of this grade was to create a look full of complementary blue and orange hues, accentuating the brilliant blue sky and forming rich skin tones on the subjects.


Although this extra information and flexibility in post-production often makes fixing mistakes possible, this doesn’t mean the camera operator can forget everything they learned in film school! By shooting with desired contrast and colour in the scene (through lighting and decoration) the colourist is given material which will enable them to create much more spectacular images.
The Process of Colour Correction
In Alexis Van Hurkman’s comprehensive ‘Color Correction Handbook’, he defines “six labors of the colorist”. These are: correcting errors of colour and exposure; making key elements look right; balancing shots in a scene to match; creating style; creating depth; and adhering to quality control standards.
Correcting Errors of Colour and Exposure
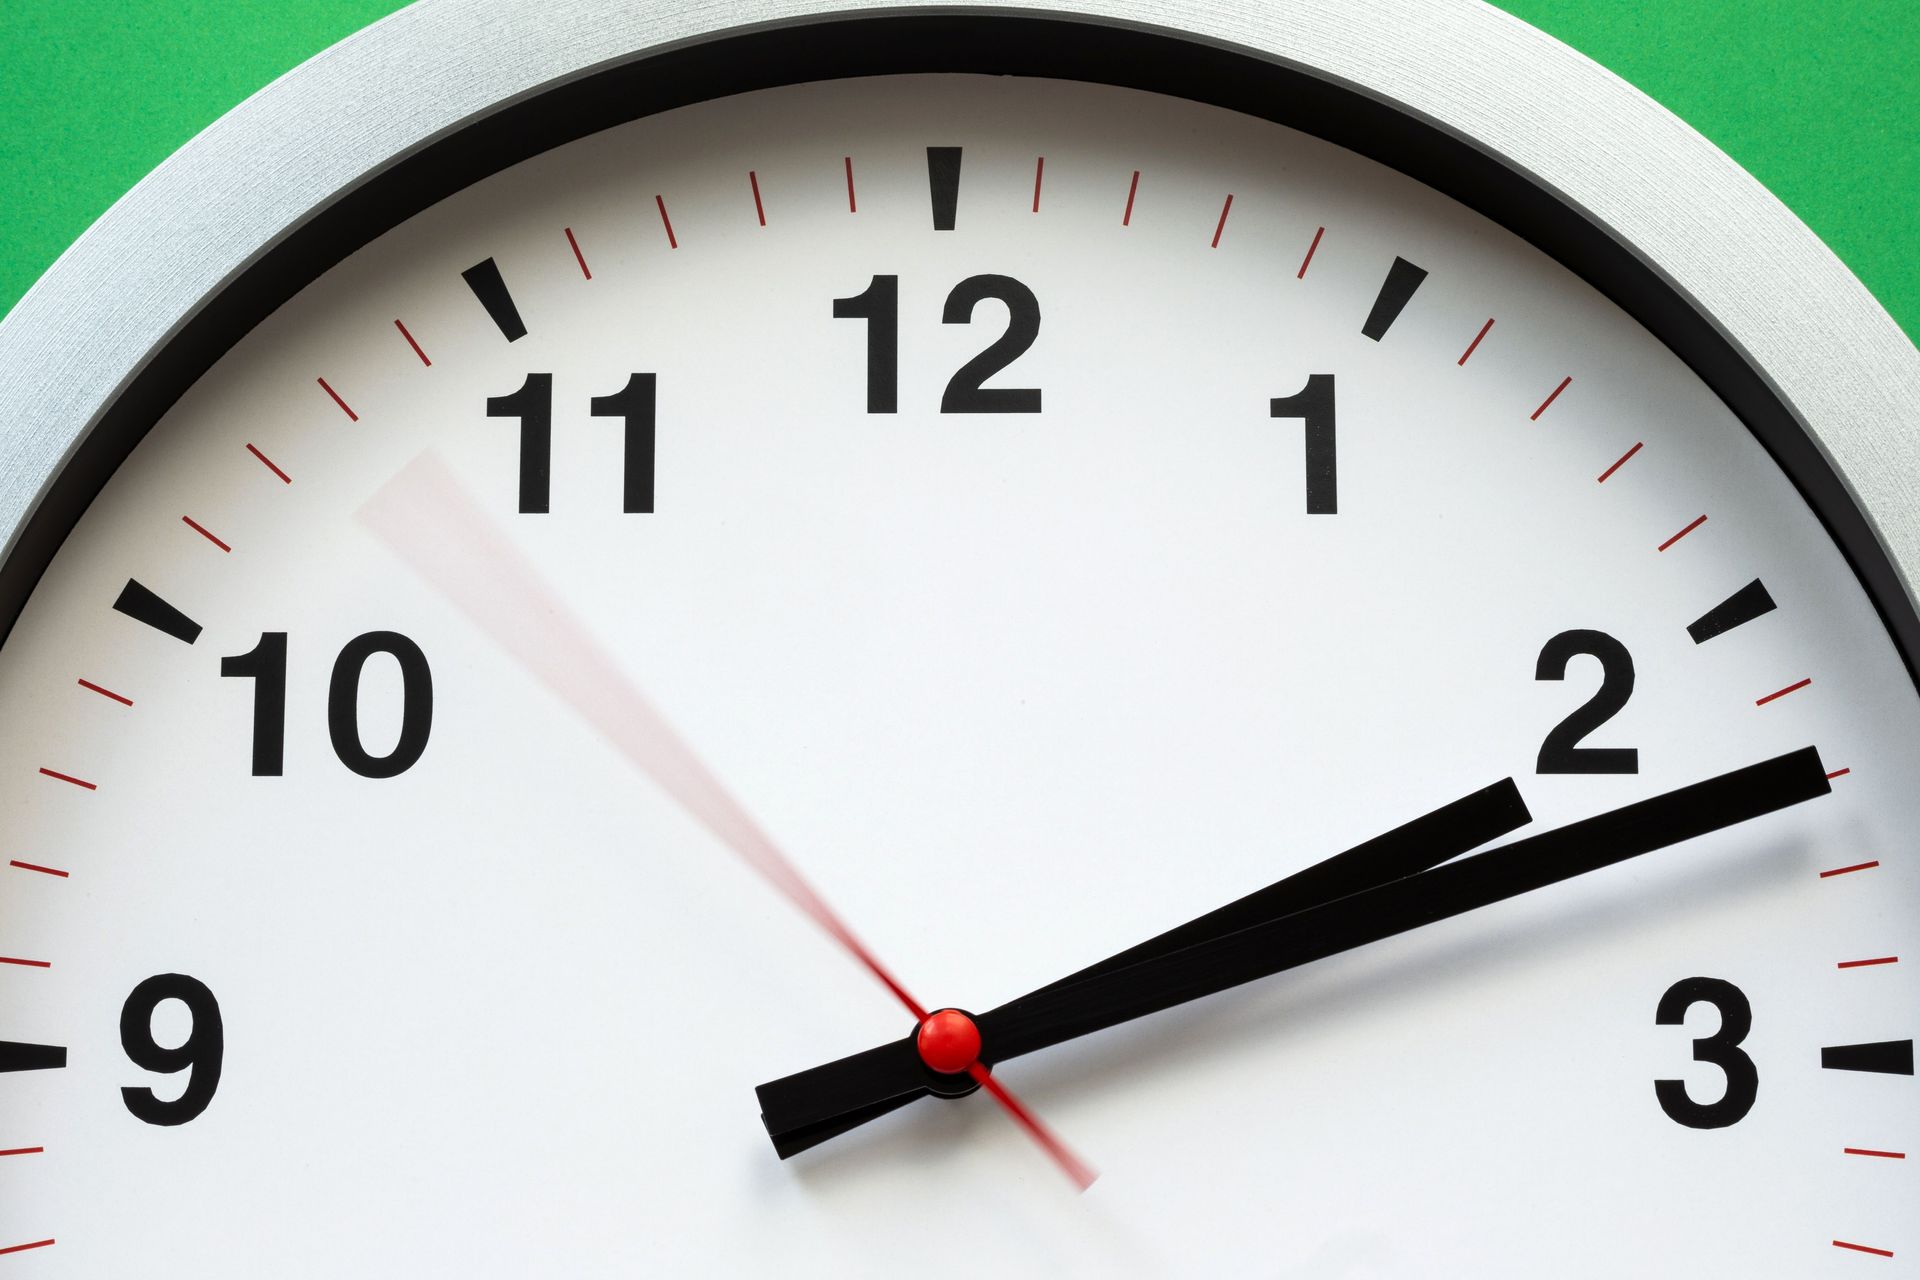
The initial corrections deal with problems such as an image that is too bright or dark, or having strong tints that can cause elements in the scene to look strange. Our eyes are very sensitive to skin tones, foliage and sky so it’s important to get these looking correct. For example, tints can be created by fluorescent lights that can cause a strong colour cast on the image, like the green cast on the foreground in the uncorrected image below.

Mismatching light sources in a scene such as a warm indoor light and blue daylight coming through a window can also cause problems, putting vastly different colour casts on different areas of the shot. The image above also shows blue daylight coming through the window, which contrasts with the warmer fluorescent light of the foreground.
Making Key Elements Look Right
Pulling out key elements will help the viewer focus on what the scene is trying to show them, for example, a particular person or product. Through careful manipulation of the brightness or the colour, the audience’s eyes are drawn to that area of the shot.
Balancing Shots in a Scene to Match
Colour correction is usually completed at the very end of the edit, when shots that may have been produced days or weeks apart, or in different locations, have been placed next to each other. As you can imagine, these shots can vary dramatically but with colour correction, the whole video will be balanced so that it appears to have been shot all together under the same conditions.
Creating Style
Creating style is an important part of the process, especially for films that need a creative edge. You can change the mood and feeling of a shot to be fun and positive by giving it a warmer colour temperature and increasing the saturation (how full the colour appears) to create bold colours and increasing the contrast between the light and dark areas of the image to make the elements pop. An example of this is show below on the left. Alternatively, you could make it look cold and muted as shown in the example of the same image on the right.


Creating Depth
Depth in the image refers to separating the foreground and background elements. Objects further away are generally less saturated than closer ones and this helps bring the focus on the foreground.
Adhering to Quality Control Standards
Quality control generally assured the film would contain the appropriate signal levels for broadcast. This may not seem so relevant when creating content specifically for digital consumption however it’s important to bear in mind that strong adjustments could remove details within the image that you would like to preserve so it’s worth keeping an eye on these levels.
So there you have it, a quick overview of colour correction and it’s use in video. It’s an amazing tool which can transform your film and add that crucial layer of polish.
To talk about how we can help with your video project, say hello@ch-video.co.uk
Share this post:
Recent posts
Fast turnaround videos. What we do and what our clients do to make it work. Our Managing Director, Emily Blanden, shares what we’ve learned from creating fast-turnaround videos for our clients - without the panic stations. From getting the brief nailed down early to keeping feedback clear and speedy, Emily talks through the little things that make a big difference when deadlines are tight. My team might not thank me for writing this. We’ve just completed two motion graphics projects on extremely tight turnarounds. A three minute video briefed in and delivered within six working days. A five minute video done in four. Sharing how we did this might result in us getting even more last minute briefs, sorry in advance to my team! Short lead time work is stressful. We’d always love more time. But over the years we’ve developed a process that makes it possible to create quality work, fast and I think it’s worth sharing, because a lot of it comes down to what both sides of the relationship do along the way.
We're #23 in the UK Top 50 Big news from us! CH Video have climbed 7 places in the EVCOM (Event & Visual Communication Association) + Moving Image UK Top 50.
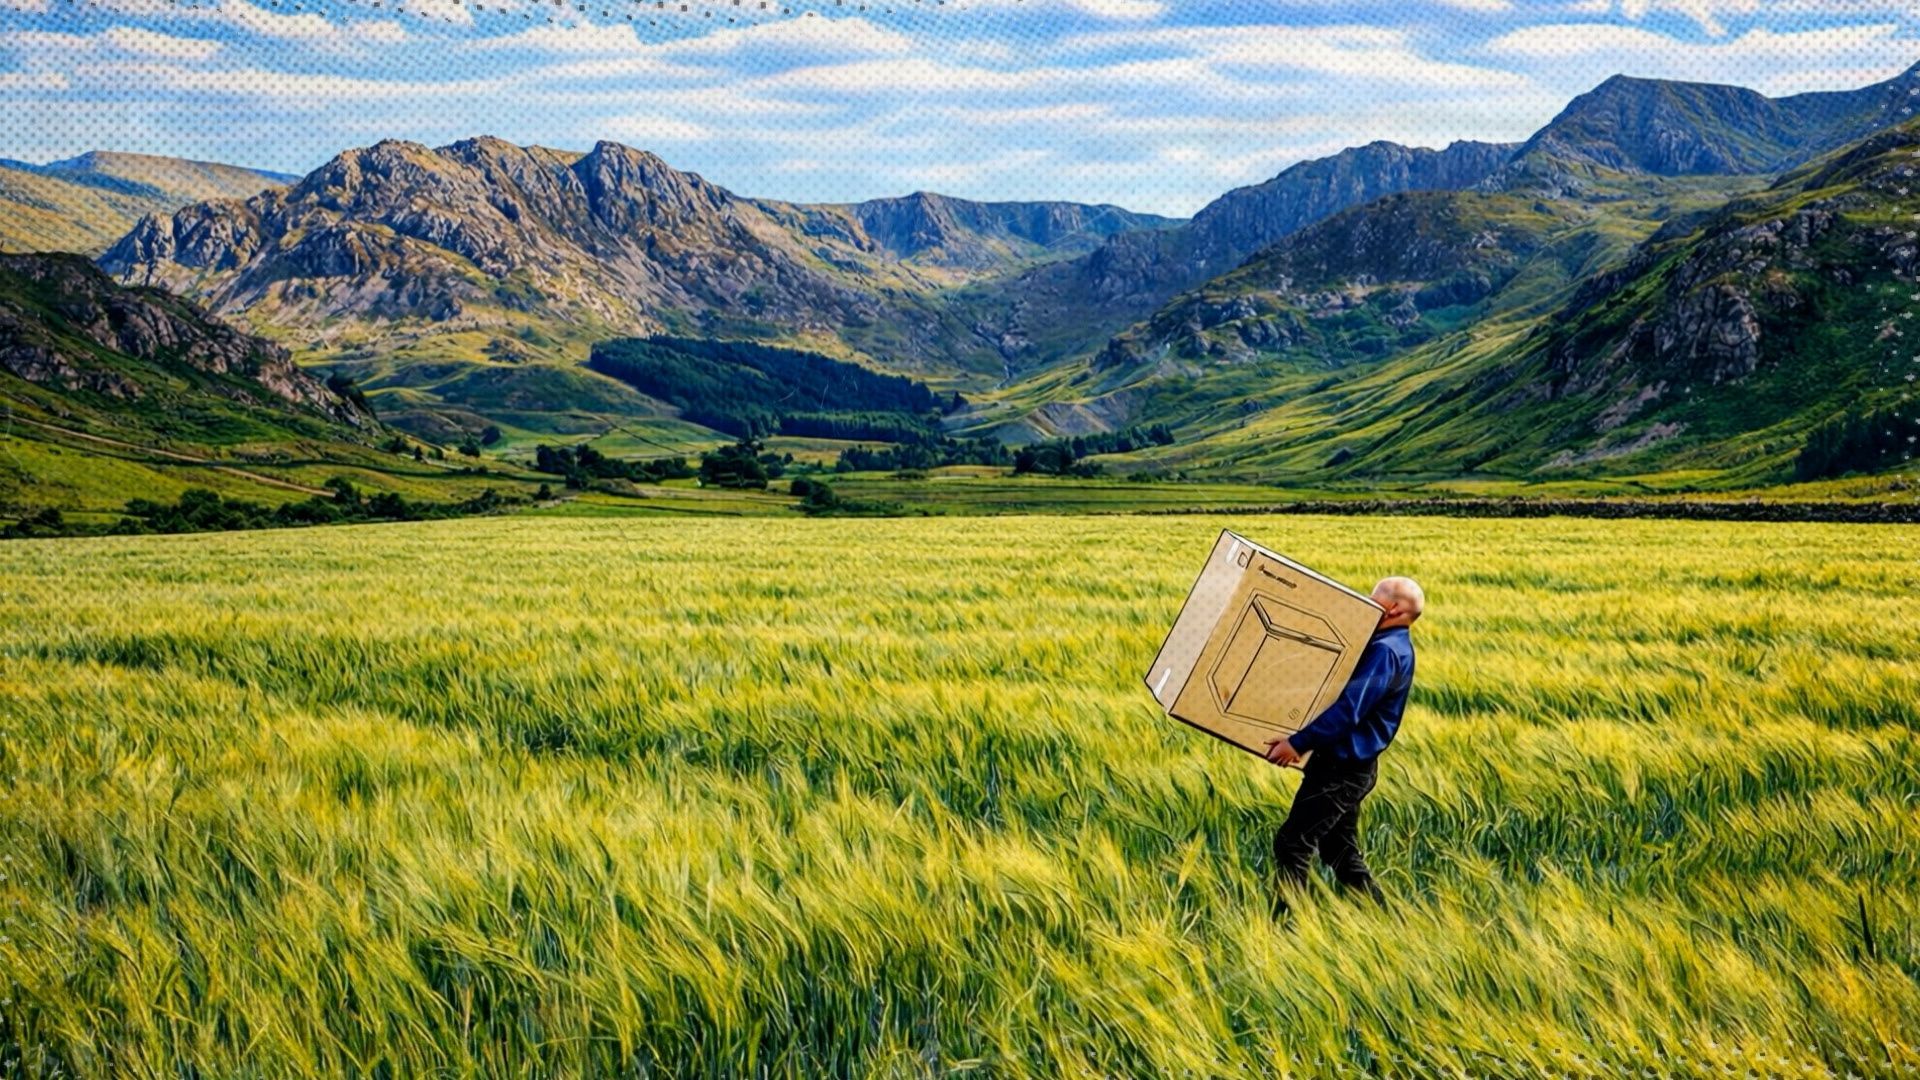
When Euronics came to us with a brief, it was a good one: take a true story about an extraordinary delivery and turn it into something worth watching. The Brief Joe, a Euronics delivery agent, had been tasked with getting a chest freezer to a customer in rural Wales. The road ran out. He carried on anyway, on foot, through fields, across rivers and over hills. The customer was delighted. The story deserved to be told. Euronics asked us to produce a short comedic video retelling that journey. The challenge was finding the right visual language to match the scale of the tale. The Concept We pitched several approaches centred on a comic-book aesthetic, bold, energetic and a little tongue-in-cheek. It felt like the right fit: a story that was equal parts heroic and absurd, told in a style that leaned into both. The concept paired real interview footage of Joe with AI-generated visuals to bring his journey to life. Where a traditional shoot would have required location days across Welsh countryside, generative AI gave us the tools to illustrate the story scene by scene. Creative Wrangling We filmed Joe against a studio blue backdrop, letting him tell the story in his own words. His delivery did a lot of the heavy lifting (puns intended!), dry, matter-of-fact and quietly brilliant. The AI-generated visuals were built around detailed multi-angle reference sheets for Joe, the Euronics van and the chest freezer.
